Creating your Anyscale Workspace
Once the build has finished from the previous step, we can launch an Anyscale Workspace with our new cluster environment! Here, we’ll get to specify the compute configuration.
compute_config:
  cloud_id: cld_4F7k8814aZzGG8TNUGPKnc
  region: us-west-2
  head_node_type:
    name: head
    instance_type: m5.large
  worker_node_types: []
Expand the Step-by-Step section below to see a detailed explanation of how to accomplish these tasks.
Step-by-Step Instructions on Compute Configuration Creation through UI. Just click here to expand
-
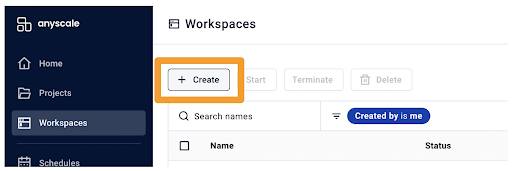
navigate to the workspace creation page.

-
You’ll be prompted with a screen for workspace configuration. Here are some reasonable defaults for you:
- Workspace name: MyProject
- Description: My first project
- Project:
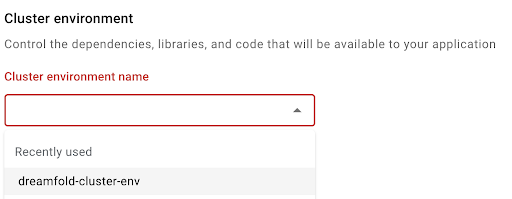
- Cluster environment name: Choose the cluster environment you just created – it should come up first in the dropdown menu!

- Compute config: “One-off configuration”
a. If you’re on GCE:
i. Head node type: n2-standard-8 (default)
ii. Worker node type 1: n2-standard-16 (default) (min=0, max=10)
iii. Worker node type 2: n1-standard-16-nvidia-tesla-t4-1 (default) (min=0, max=10)
b.If you’re on AWS:
i.Head node type: m5.2xlarge (default)
ii.Worker node type 1: m5.4xlarge (default) (min=0, max=10)
iii. Worker node type 2: g4dn.4xlarge (default) (min=0, max=10)
If you want the cluster to start out with some amount of worker nodes, set min > 0. If you don’t want the cluster to autoscale, set max = min.
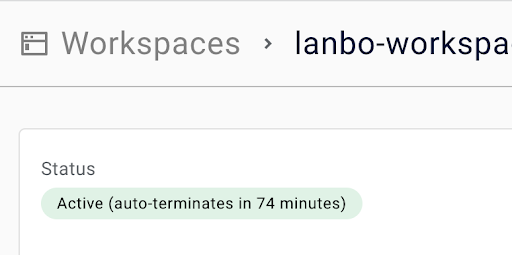
- Press Start and wait for the cluster to start! In a couple minutes you should see the “active” status show up:

Step-by-Step Instructions on Compute Configuration Creation through CLI. Just click here to expand
- Step 1 is navigate to…
Here might be a **screenshot** of what to do.
- Step 2 copy a policy in JSON format from the code snippet below…
anyscale compute-config create compute.yaml